 Skip to the content
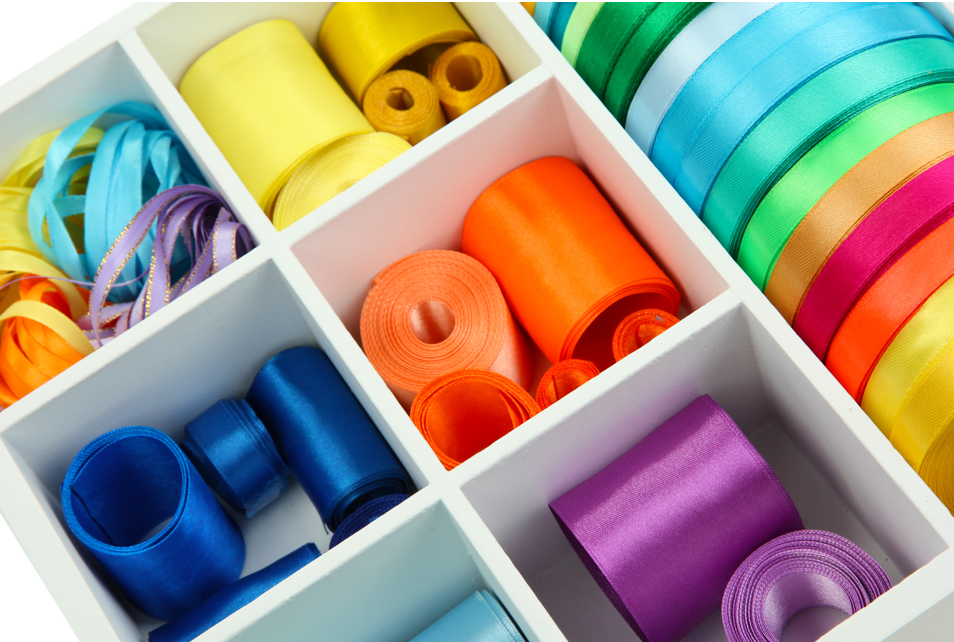
Box dividers are the most effective solution to segment boxes or drawers to form separate compartments. From differentiating smaller items, such as nuts and bolts, to arranging the contents of your sock drawer, box dividers are a great option when it comes to your storage organisational needs.
It’s possible to purchase pre-made boxes with dividers already installed, or empty boxes designed specifically to accommodate a range of dividers. The most affordable solution, however, is to make them yourself.
It’s not as complicated as you may think to create your own box divider. You can opt for different materials, such as cardboard, wood or plastic, depending on your preferences. In this guide, you’ll learn the general process of how to make dividers from cardboard. If you’d prefer to use another material, simply replace and apply the steps to your material of choice.
What are dividers used for?
Box dividers are used to store, pack or organise numerous items within a single outer box or drawer. They provide protection by preventing movement of the items, especially if they’re in transit. Dividers also maximise space which improves the overall efficiency of packing.
They come in a range of different sizes, shapes and materials to accommodate any packing needs and can be used for various reasons. They can separate fragile items such as wine glasses with an extra layer for security, or provide the ideal solution for organising intricate items, such as needles and thread.
What will you need?
- Sturdy cardboard (such as a dismantled box)
- Measuring tape
- Scissors or a cutting knife
- Wrapping paper of your choice (optional)
To make four separate dividers, implement the following steps:
Step One
Firstly, measure the height, width and depth of your box or drawer. Use a measuring tape to get the most accurate dimensions. You want the separators to fit snugly so they don’t slack or budge when the box is moved or the drawer is opened.
Step Two
Cut out two pieces of cardboard. One piece of cardboard should match the height and depth of your box/drawer and the second should match the height and width. For example, if your box has a height of six inches, a width of 12 inches and a depth of 18 inches, one piece of cardboard should be six inches by 12 inches and the other six inches by 18 inches.
You can wrap the cardboard with some decorative paper if you’d prefer a more interesting appearance.
Step Three
Use the measuring tape to mark the centre of each rectangle with a pencil. Draw a line from the centre mark to the middle of the longest edge of each rectangle. Then, cut along the line with scissors.
Step Four
Slot the first piece of cardboard into the other. They should fit together by the slits in the middle to form a cross. Voila, you’re done! Simply insert the cross into your box or drawer and enjoy four separators.
How do I make more dividers?
You might want to install more dividers than we’ve outlined above. If this is the case, simply cut out more rectangles in accordance with the measurements of the box. For example, cut two rectangles that match the drawer’s height and depth, instead of one as described in Step Two. Then cut two that match the drawer’s height and width. Then, cut two incisions rather than one as described in Step Three and slot them together.
How to make plastic dividers
To make plastic box dividers, simply follow the above steps but replace cardboard with plastic. For easy cutting, opt for polypropylene, the kind of plastic that’s used for items such as thin chopping boards and tupperware boxes. If you want your dividers to be particularly sturdy, then you can choose a thicker plastic instead, but it may take longer to cut through. Thicker sheets of acrylic or polycarbonate, for instance, will require you to use a table or circular saw.
There are certain things to consider before selecting a plastic. Some types tend to melt while they’re being cut while others are particularly prone to scratching. Note that the edges often need buffing after cutting too. Once you’ve taken the proper precautions to cut your plastic, which should be executed on a workbench, just follow the rest of the steps outlined above to finish making your plastic box dividers.
Leave a Reply
You must be logged in to post a comment.